Showing posts with label For The Home. Show all posts

Friday, July 25, 2014

DIY Hair Bow Holder


My sister was looking for a hair bow holder for my goddaughter, and being the best godmother ever I decided to take matters into my own hands and make one for her!

Materials: Picture frame (I found mine at Michael's in the wood crafts section), paint (if necessary), command hooks, ribbon, stapler.

Time: < 2 hours

Step 1: Paint it!

I painted the frame white and the sides had a darker tone to it that I thought gave the frame some depth. I decided not to paint the sides and just paint the top (it was also just easier that way!). 


Step 2:

The next step is to measure, cut, and staple the ribbon to the frame at even widths along the frame.


I double stapled each one for extra support. Make sure it is tight enough so that the ribbon does not hang loose.


Step 3:

This frame is perfect to add an accent ribbon on the side. I double tied it to give it the butterfly look. Then I laced the ends through the sides of the frame.


Step 4:

Time to add the command hooks! I added them just below each ribbon. The command hooks are for round headbands.

Step 5:

I created this round nameplate to give more support to the hair bow holder. I twisted the ribbon to use as a hook instead of adding a picture hook or something more complicated.


That's it!

The final product:

This is the sweetest project, I loved making it for my little goddaughter! This is such a good gift for birthdays, baby showers, or any time of the year! It's a great decoration and space saver. I hope you enjoy!


Thanks for tuning in!
-K

Friday, July 18, 2014

Picture Coasters


This is my latest project. I made them as a gift for one of my best friends. These tile coasters are perfect for any type of gift or just for yourself! They turned out so much better than I ever imagined, I hope it works for you too!


Materials: Gloss Mod Podge (I used Matte but Gloss would work better); Krylon crystal clear acrylic coating (No. 1303); 4x4 inch tiles; felt; hot glue; scissors; paintbrush, pictures.

Total Time (including dry time): 3-4 hours
 

Step 1:

Use the paintbrush to paint mod podge onto the tile. Place the picture on the tile and make sure it does not go over the edge. Use scissors to cut the picture beforehand if necessary (Walgreens does 4x4 Instagram prints but my tiles were slightly smaller than 4x4 so I had to trim those down a bit). 

After that dries, apply two more coats of mod podge on top of the picture. Mod Podge works as a sealant and helps make the picture water resistant.


Step 2:

I decided the Mod Podge wasn't enough to seal the coasters, so I used Krylon's Crystal Clear Acrylic Coating to make it completely water resistant. I sprayed each of the coasters twice. Make sure to spray at an angle so that it does not drip onto the coaster (like mine did---shhhhh). 


Step 3:

Once the coating was dry I cut the felt in squares slightly smaller than the tiles. This way, it doesn't stick out and the tiles will not scratch any surfaces. This is an extremely important step in this project, otherwise your project would be photo tiles instead of coasters. Once I cut the felt, I used a hot glue gun to glue it to the bottom of the tiles. 


And You're done!

Here are some pictures of the final product:


Thanks for tuning in!

-K

Monday, June 30, 2014

Happy Fourth!


In honor of Team USA competing for the World Cup as well as the Fourth of July this week, I've decided to make a festive decoration that's perfect for any American themed party. Happy celebrating!


Materials: wooden crate, wooden stars, wooden letters, star candles, festive ribbon, RWB paint, paint brushes (preferably one small one medium sized--not pictured)
Time: 1-2 hours (including dry time)


I decided to paint the ends blue to put the stars on and the four rails every other red and white. I also painted the letters blue but left a little white for dimension and I painted the stars white. I used the small paint brush to get in between the cracks and the medium sized one


I used a hot glue gun to glue the letters and stars. I think it works better than craft glue or tacky glue. 


I put three stars on one end and three on the other although you cannot see the other side in the pictures, my apologies.


I thought these star candles were too cute to pass up! I put a couple inside the crate and a couple outside to light up the night. Side note: Michael's is currently having a sale on all Fourth of July decorations, I suggest you check it out if you are hosting a party or just love the Fourth.


And the final product:


I know it's been a few weeks since my last post, but I have some very special things coming soon that I can't wait to show you!

Thanks for tuning in!
-K

Sunday, June 1, 2014

DIY Boards: Dry Erase and Cork

For my first post it's only fitting to talk about one of my favorite projects!

Personalized Dry Erase Boards:
Materials: 2 pieces of scrapbook paper, tape, ribbon as long as your frame (I like to use the medium sized ribbon because it's not too big and not too small either), any size picture frame larger than a 12x12 (I think the longer kind look best, mine is a 12x15), and any other embellishments of your choosing. I got all of my supplies at Michael's but you can also get any of these at a Jo Ann's Fabric Store or Hobby Lobby.

This one I made for myself back in High School. I saw a dry erase board just like it at a small store in Franklin, TN and I decided to try to make it myself because it looked pretty simple. Back then I wasn't really into embellishments and I liked to keep my crafts simple so all I used were the basics for this one. Also the scrapbook paper I used already had a little birdie in the corner and I didn't want to overdo it. I used the ribbon to cover up the spot where the two pieces of scrapbook paper meet. Depending on the size of your frame you may need to cut the paper down or add more pieces. In this one I just layered two 12x12 pieces of scrapbook paper, no need to cut the smaller one.
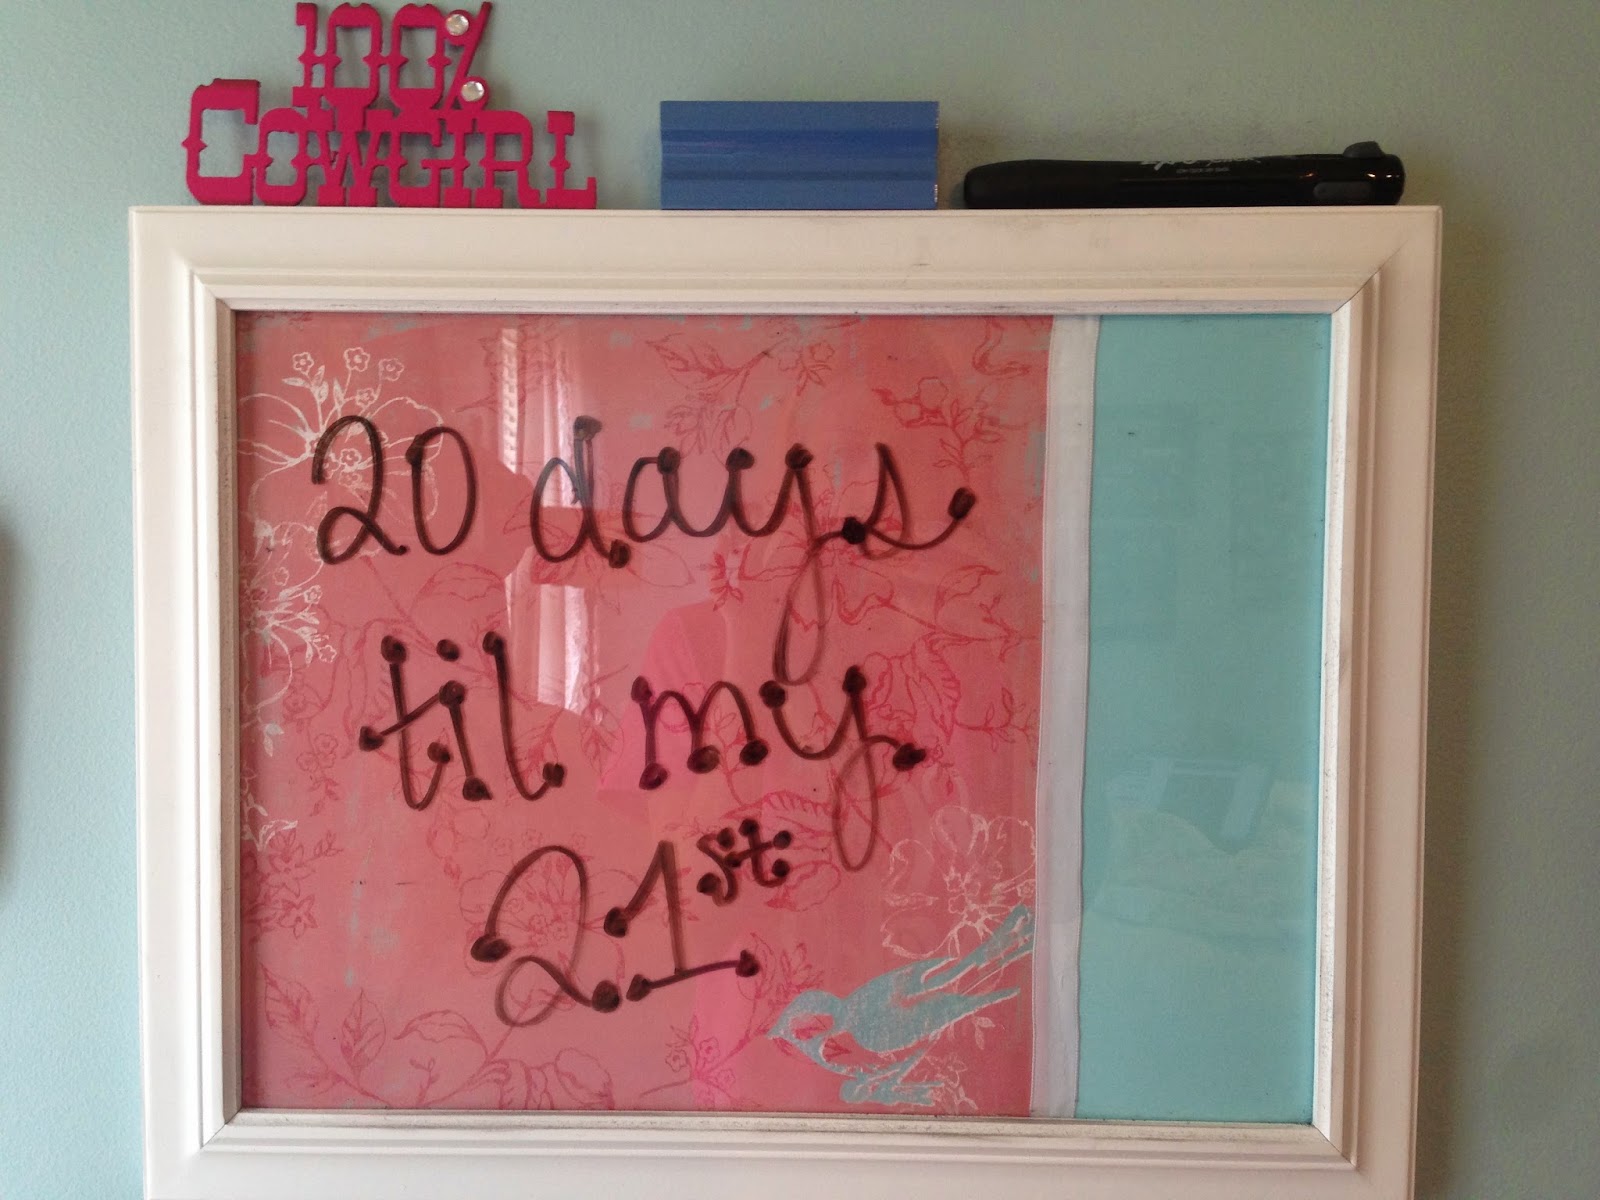

Make sure when you make these, try to stay away from black scrapbook paper because it would be difficult to read. As you can see in the one below that I made for my best friend , I used a zebra print but I kept it on the small piece so that she could still read the writing on part of it. This kind of went with the theme in her room so that is why I still chose to use it. So if you do decide to use a black print or darker color, try to keep it on smaller piece instead of the larger part of the board. For hers I also used Velcro to stick an expo dry erase marker to the bottom for easy access.

This one I made for my college dorm room freshman year, as you can see, I used a black pattern again but I kept it to the smaller piece. Also as you can probably tell, I like to keep countdowns on mine!

I'm not going to post a step by step of these boards because it is pretty simple. If you would like instructions, please comment below and I can post them or send them to you.

Personalized Cork Boards
Materials: Cork Board (Most craft stores have plain cork boards), paint, embellishments, hot glue gun (I used this to glue on the flower in the picture below).

I made this cork board for my little, Kara, for her birthday last month. I know she likes the color pink just like I do so I used pink paint and a pink flower I found at Hobby Lobby. You can really embellish these any way you like but make sure to leave room so they can pin things on it and not cover up what you did too much. As you can tell, I like to keep it simple and clean. I've also been trying out some calligraphy which can be hard to do with paint and a paintbrush so this was an attempt at that. For longer names you can turn the cork board the other way and write it along the side or you can write it along the top.

Now for the next cork board, it has some different materials that are necessary for the look.
Materials: Burlap fabric, cork board, black paint, stencils of your choice, hot glue gun or thumbtacks.


I saw this type of cork board in a store and I thought it was so cute and that I could make it, which is what happens a lot. I used burlap fabric which was hard to find, I would suggest going to Jo Ann's or Hobby Lobby for this because Michael's does not carry fabrics. If you can't find it in the store it is pretty easy to find online. You can use a cork board like the previous one or thicker. I glued the burlap around the cork board and glued it to the back to keep it on. You can probably use thumbtacks but they may not stay as well. For best results use both. First pin the burlap the to back and then glue over it so it will stay.
Then you can use a stencil however you want, I chose a Chinese symbol and bamboo because it kind of had that feel to the board. Also I used black paint because in my opinion that looks best with the burlap. You can choose another color if you'd like.


If you'd like any further instructions, comment below and I'd be happy to explain more in depth.


Thanks for tuning in!
-K